
A block of beeswax, a pan of water and a spare hour are enough to make the sort of things you would otherwise buy in small, expensive tins. The appeal is not just thrift. When you melt your own balms you choose the oils, skip the ingredients you cannot pronounce, and end up with a shelf of pots labelled in your own handwriting.
These five recipes share the same method, so once you have melted one you have learned them all. Weigh everything by grams rather than spoons — wax and oil do not measure the same way, and small errors show up in the set.
Before you start: kit and ground rules
You are making a bain-marie, not a chemistry set. A heatproof jug or clean jam jar stood in a saucepan of simmering water gives you gentle, even heat and makes pouring easy. Never melt wax over a naked flame or in a dry pan; beeswax is flammable and it scorches easily, which ruins the colour and the smell.
- A heatproof jug or clean jam jar, plus a saucepan to sit it in
- Kitchen scales accurate to 1 g
- A silicone spatula or a wooden stirrer kept for wax work
- A thermometer if you have one — aim to pour at around 65–70°C
- Small tins, lip balm tubes or clean 15 ml jars
- A cloth and a little surgical spirit for wiping sticky drips
Melt the wax first, then add butters and oils and stir until everything is clear. Essential oils go in last, off the heat, so they do not evaporate. Pour straight away, because a cooling balm thickens fast.
1. Simple lip balm
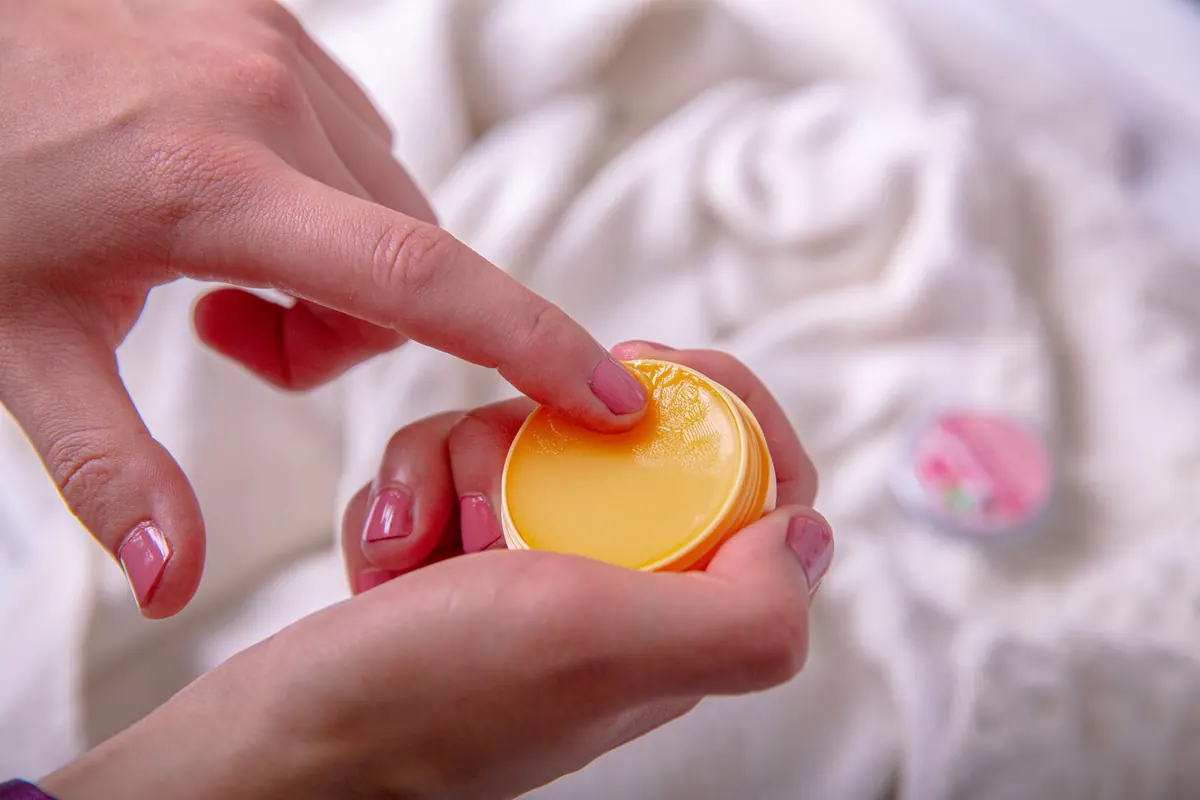
Start here, because it sets within about ten minutes and gives you immediate proof that the whole idea works. Equal parts by weight of wax, butter and oil is the reliable starting point.
- 10 g beeswax
- 10 g shea or cocoa butter
- 10 g sweet almond, jojoba or apricot kernel oil
- One drop of peppermint essential oil, optional
This makes roughly six 5 ml tubes or four small tins. Drop the wax to 8 g for a softer balm, or push it to 12 g if you live somewhere warm and want a firmer stick. One drop of peppermint is plenty; more will sting.
2. Gardener's hand salve
A thicker, more forgiving balm for hands that have been in soil, washing-up water or cold air. Beeswax is not a moisturiser in itself — it forms a breathable layer that slows moisture loss, so the oils underneath do the softening.
- 20 g beeswax
- 40 g olive oil
- 20 g sunflower oil
- 10 g shea butter
- A few drops of lavender essential oil, optional
If you have a jar of calendula or chamomile flowers steeping in oil, this is the recipe to use it in. Pour into 60 ml tins, and massage a little into knuckles and cuticles before bed. Keep it for about a year in a cool cupboard; oils eventually turn, and you will smell it when they do.
3. Beeswax furniture polish
Traditional polish is wax, oil and patience. A soft paste is easier to apply thinly than a hard block, and a thin coat is the whole secret — thick polish goes tacky and attracts dust.
- 25 g beeswax
- 100 ml food-safe oil: raw linseed, jojoba or walnut
Melt together, then let the mixture cool for a few minutes and beat it with a fork until it turns creamy. Apply with a lint-free cloth, leave for ten minutes, then buff. Test on a hidden patch first, especially on veneer, French-polished pieces and anything antique. Note that "boiled" linseed oil from a hardware shop contains drying agents and is not the one to use on a table where food is prepared — raw linseed or a culinary oil is the safer choice there.
4. Cuticle and nail balm
A good use for the last few grams in the jug. Jojoba is technically a liquid wax and sinks in quickly, which suits fingertips.
- 8 g beeswax
- 10 g jojoba oil
- 10 g apricot kernel oil
- 2 g shea butter
It fills two 15 ml tins. Warm a little between your fingers and work it into the nail beds each evening. If you have very dry heel skin, this also works as a heel balm under socks.
5. Leather and boot wax
Not for the kitchen table, but the same skills. Lanolin and beeswax together feed and protect walking boots, belts and old leather bags.
- 30 g beeswax
- 30 g lanolin
- 20 ml neatsfoot oil
Lanolin is sold in pharmacies and some health food shops; neatsfoot oil comes from saddlery suppliers. Warm the wax into the leather with a cloth, in thin coats, then buff after twenty minutes. Skip suede and nubuck entirely, and test on the tongue of a boot first.
Where to buy the ingredients in the UK
You do not need a specialist supplier for everything.
- Beeswax: local beekeeping associations, beekeeping suppliers, or online soap-making shops selling cosmetic-grade pastilles, which melt faster than solid blocks
- Carrier oils and butters: health food shops, larger pharmacies, and the same soap-making suppliers
- Lanolin: pharmacies, often near the nipple cream
- Raw linseed oil: artists' suppliers and some hardware shops
- Tins and tubes: craft shops, cosmetics packaging sellers, or washed-out sample pots you already own
If you keep bees and have your own wax, melt it, strain it through muslin and let it set before using it in balms. Expect a little honey scent and a darker colour; that is normal.
Making an afternoon of it
Work in order of setting speed: lip balm first, then cuticle balm, hand salve, leather wax, and the furniture polish last, since it wants to cool slowly before you whip it. Wipe the jug between recipes with a piece of kitchen roll while it is still warm — it takes seconds then and considerably longer once cold.
Write down your ratios as you go. Next time you will want the lip balm slightly softer or the salve slightly firmer, and a note in the margin is worth more than any recipe. Label each tin with the contents and the date, and tie a few with string for presents.
A sensible word on skin: keep essential oils to a few drops per batch, patch test anything new on your inner arm, and avoid citrus oils in leave-on products. If you have sensitive skin, known allergies to nut oils or lanolin, or you are pregnant, ask a pharmacist or your GP before using homemade balms on yourself or anyone else.
Photo: Lucie Liz / Pexels